

When it comes to maintaining the aesthetic appeal of your home, a fresh coat of paint can work wonders. However, over time, walls may suffer from nicks, scratches, or fading, requiring some quick and effective touch-up actions. These minor repairs can significantly enhance the overall look of your space without the need for a complete repaint.
In this guide, we’ll explore essential techniques and materials for quick paint repairs, ensuring that your home remains inviting and well-maintained. Whether you’re dealing with a small scuff on the wall or a larger area that needs attention, learning the right touch-up methods can save you time and money.
By investing a little effort in repair tasks, you not only improve your home’s interior but also protect your property’s value. Discover how to effectively tackle these minor imperfections and further beautify your living environment.
Selecting the Right Paint for Touch-Ups
When it comes to repairing minor damages, choosing the correct paint for touch-ups is crucial. The right paint not only blends well with the existing color but also ensures durability over time. First, identify the type of paint used on your walls. Most homes utilize either latex or oil-based paints. Knowing this will help you avoid complications during the touch-up process.
Next, match the paint finish. Common finishes include flat, matte, eggshell, satin, semi-gloss, and gloss. An incorrect finish can lead to noticeable differences in sheen, highlighting your repair efforts instead of concealing them. If unsure, refer to the original paint can or consult with a professional for an accurate match.
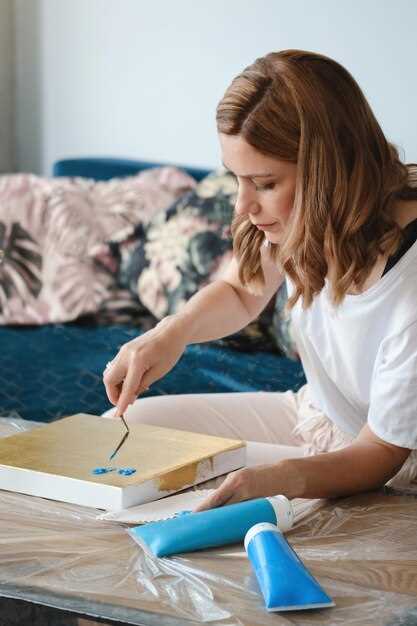
Color matching is another critical aspect. A small sample of the existing paint can be taken to a hardware store for blending. Many stores offer advanced color-matching technology that can produce a nearly identical shade. It’s beneficial to test the touch-up paint on an inconspicuous area first to ensure it perfectly matches your wall before proceeding with larger repairs.
Lastly, consider the longevity and durability of the touch-up paint. Choosing a high-quality paint designed for touch-ups can provide better adhesion and resistance to wear and tear. This is particularly important in high-traffic areas of your home where walls are more susceptible to scuffs and scratches.
Preparing the Surface for a Flawless Repair
Before you start any touch-up work, it’s crucial to prepare the surface properly to ensure a seamless repair. Begin by cleaning the area where the repair will take place. Use a mild soap and water solution to remove dust, dirt, and grease, as these can interfere with paint adhesion.
Next, inspect the surface for any imperfections such as chips, scratches, or peeling paint. If you notice any damaged areas, sand them lightly using fine-grit sandpaper to create a smooth surface. This step not only removes rough edges but also helps the new paint blend better with the existing finish.
After sanding, wipe the area with a damp cloth to eliminate dust and debris. Allow the surface to dry completely before proceeding to the touch-up process. If there are significant repairs needed, consider applying a primer to the bare spots after cleaning and sanding. This will promote better coverage and enhance the longevity of your repair.
Finally, ensure that the surrounding area is protected. Use painter’s tape to cover any edges you don’t want to paint. Having a well-prepared surface is essential for achieving a flawless touch-up that seamlessly integrates with the rest of your wall.
Techniques for Blending Touch-Up Paint Seamlessly
When it comes to touch-up painting, achieving a seamless blend with the existing paint can be challenging, yet there are effective techniques to ensure a professional finish. First, selecting the right paint is crucial; use the exact color and finish as the original to avoid noticeable differences. If the paint has aged, take a sample to a paint store for accurate color matching.
Next, preparation is key. Clean the area to be touched up to remove dust and grime, and lightly sand the edges of the chipped or marked area to create a smooth surface for the new paint. This helps the touch-up paint adhere better and aids in blending.
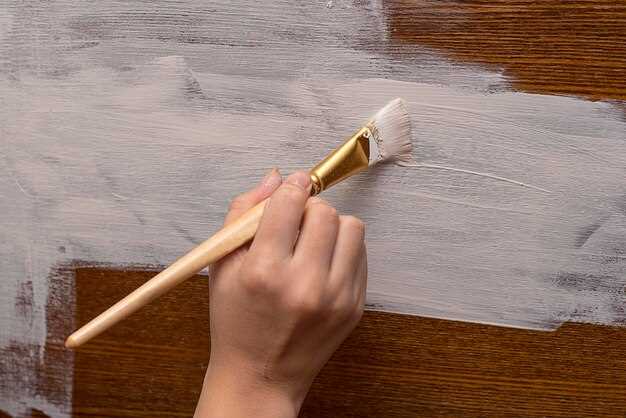
Use a small brush or a foam applicator to apply the touch-up paint. Start by dabbing the paint on the affected area, gradually feathering outwards into the surrounding surface. This technique helps to avoid harsh lines. Ensure you apply thin layers, allowing each coat to dry completely before adding more paint. This not only minimizes the risk of drips but also allows better blending with the surrounding paint.
Once the final layer is dry, inspect the touch-up. If necessary, lightly sand the area again after drying, followed by a gentle wipe to remove dust. For added blending, consider applying a clear topcoat over the touched-up area, ensuring it matches the original finish. This final step can unify the sheen and texture of the repair, resulting in a nearly invisible touch-up.


